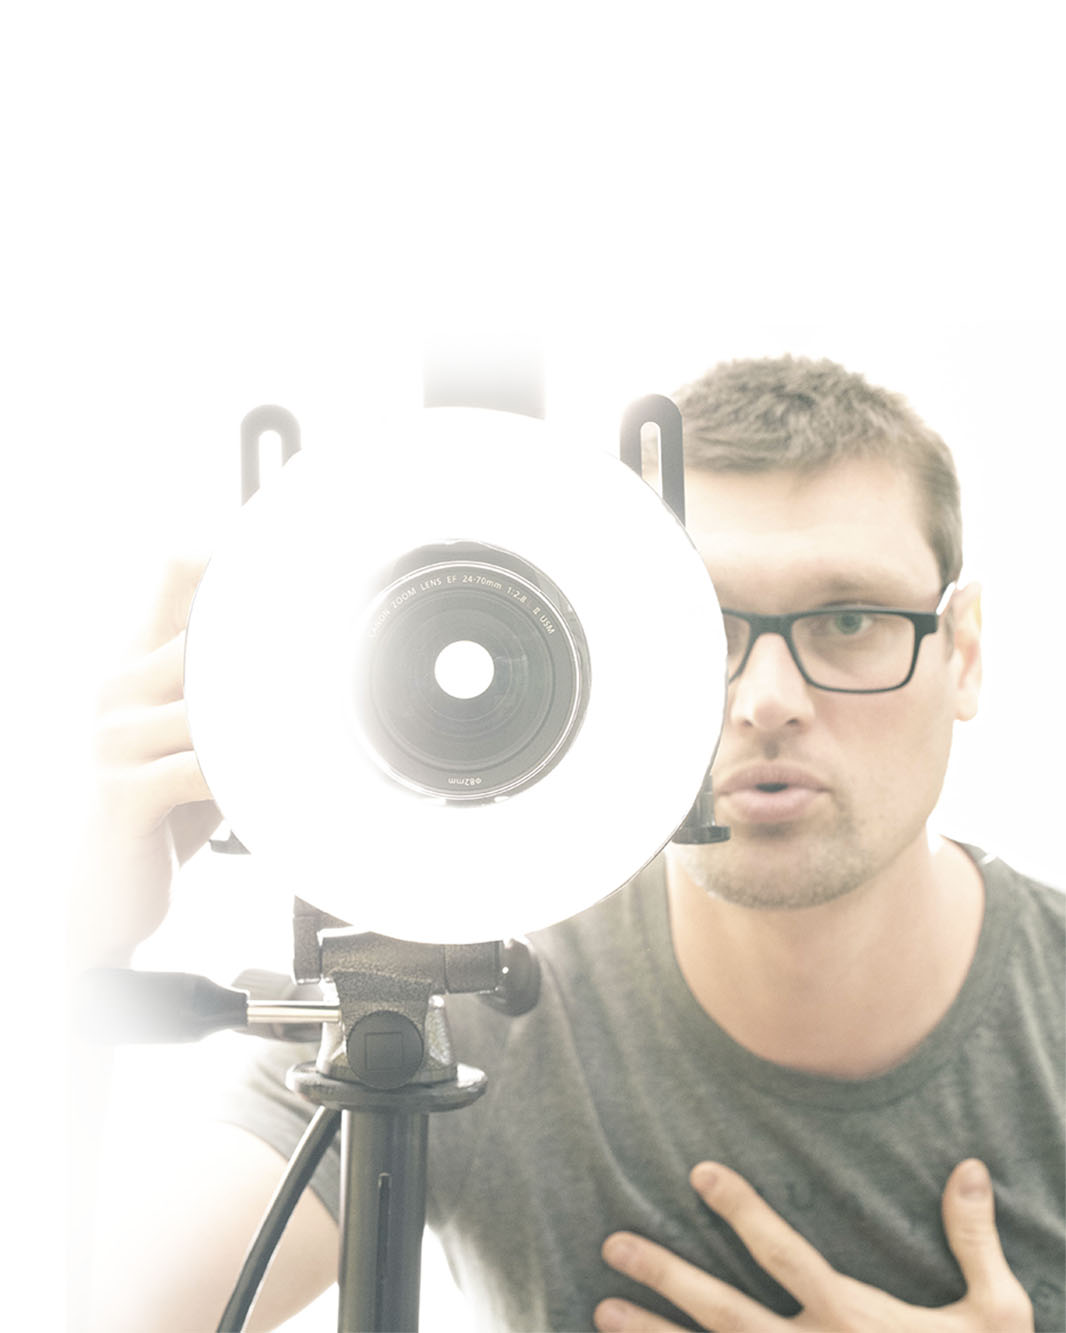
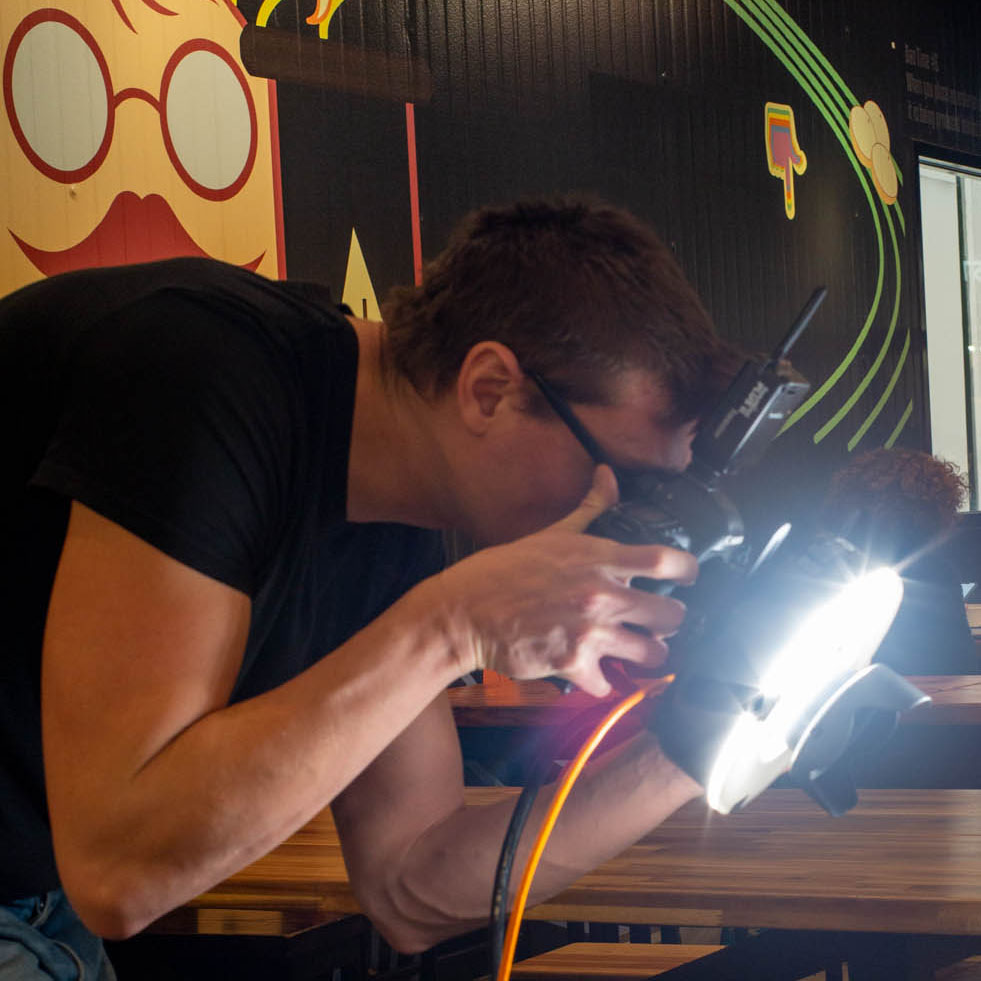
How to be a New York Food Photographer
Focus Food Photographer. Focus.
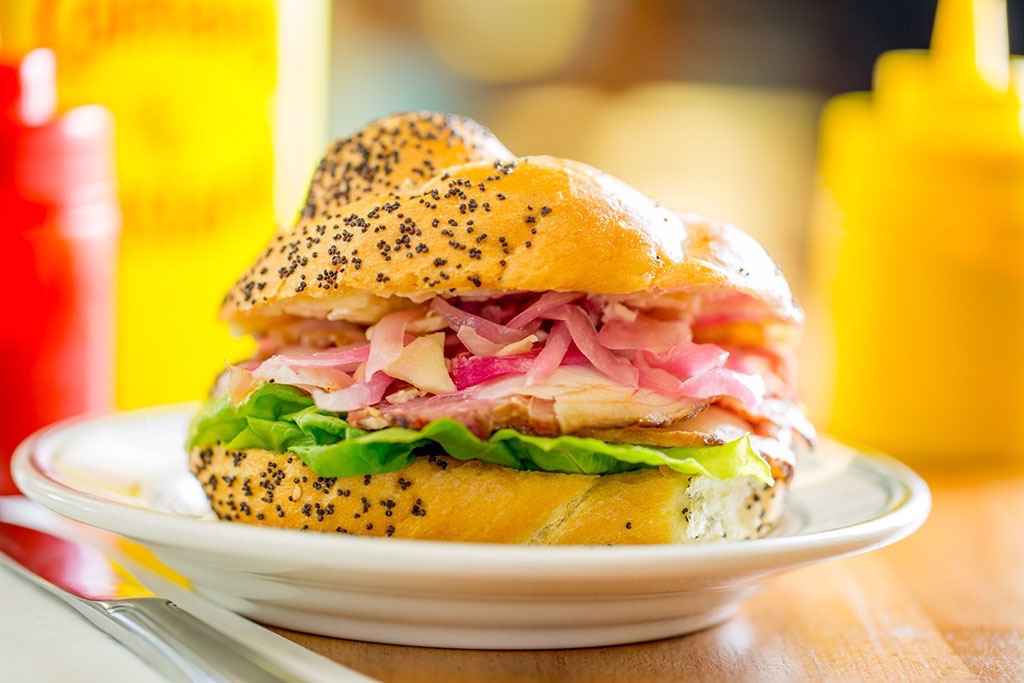
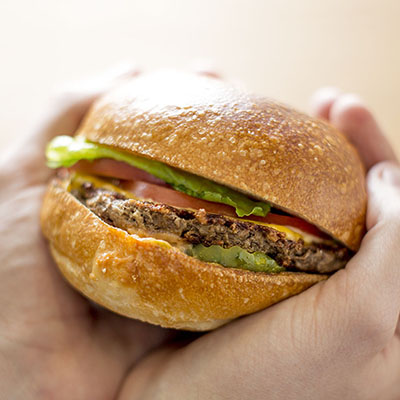
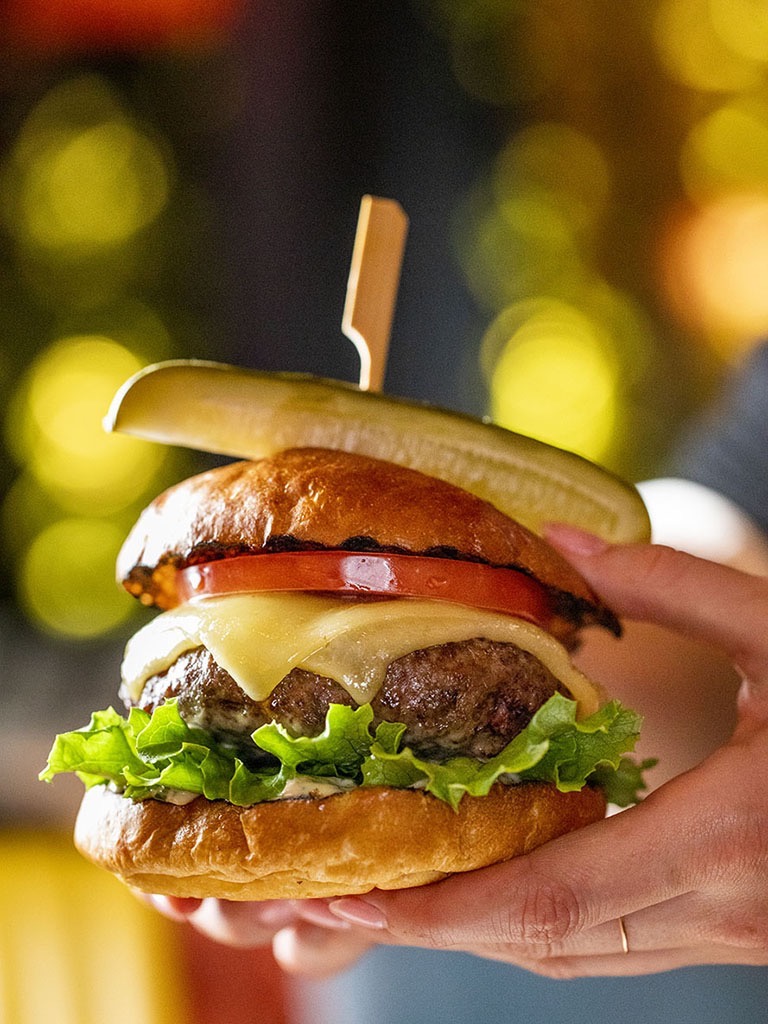
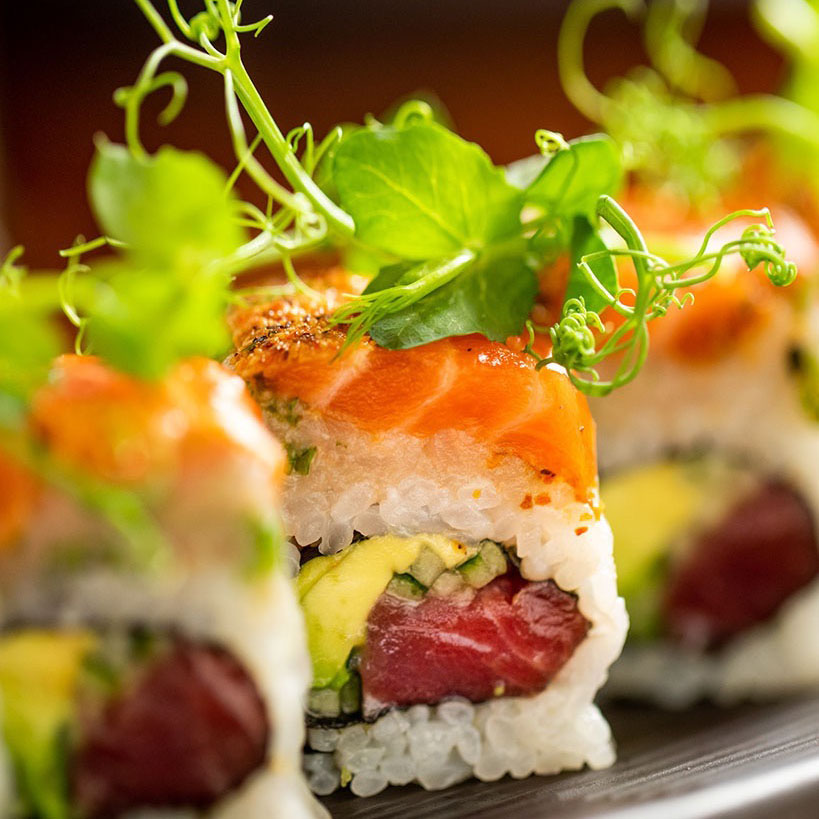
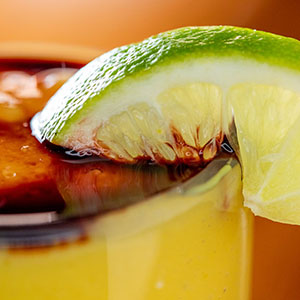
There’s nothing worse than an out of focus photograph. I see this a lot with Food Photography in New York. Everything is perfect. The light is hitting the model just right, the glint in the beer she’s holding is perfect, sun moon and stars have aligned just right to create this perfect photographic image and you look at it after the shoot and the focus is just ever so slightly off and it’s on the beer glass and not the model. Or even worse but the focus is on that guy in the background whose making a funny face. There’s a lot more focusing a camera than auto focus vs. manual and I’m here to help.
Focus in a camera lens is a function of several things. And there are several terms that we use to describe focus. Focus is the area of the image that is acceptably sharp. Starting at a point in the image that we consider the maximum focus and falling off to objects that become blurry or out of focus. It’s a little bit subjective sometimes what is in focus and what isn’t in focus but as human beings it’s undeniable when food photography is out of focus.
Depth of field is the amount of that image that resides in the maximum focus range. This is controlled by the lenses f-stop. The f-stop is the hole that the lens sees through that varies in size and it’s size can be controlled by adjusting the f-stop. Old school film cameras had a ring on the lens that controlled the f-stop and when you turned that ring the leaves of the aperture would close and stop down. In modern cameras this is often done automatically with a button or wheel but the effect is the same. F-stops are measured in a range of numbers. It’s a little bit confusing because in this case a smaller number such as f22 is a smaller sized aperture than f5.6. Smaller apertures like f22 will have a larger depth of field. And when used more of the image will be in focus. Larger apertures like f5.6 will have a smaller depth of field and less of the image will be in focus. Each f-stop on the camera is twice as large or as small as the next f-stop.
One f-stop is also equivalent to 1 stop of light exposure on the camera. Because it lets in twice as much or less light as the next f-stop. If your photograph is under exposed you can brighten it by opening up one f-stop or if it’s too bright make it darker by closing down one f-stop.
Focus is a function of the distant of the lens from the light sensitive material to the object that your photographing. You may not notice it when your camera is focusing but it’s physically moving the glass in the lens element forwards and backwards.
The shape of the aperture of a lens is also very important. As light shines through the lens it’s focued through the aperture and projected onto either film or in most cases these days a digital sensor. Photographs are made up of millions of little points of light in the shape of the aperture of the lens. This effect mostly goes unnoticed because these points of light are incredibly small. But can be visible sometimes when large bright objects project onto the background. Most noticeably when a portrait is being taken at night and the twinkling lights of the city are illuminating out of focus in the distance. Those points of light when projected are in the shape of the aperture of the lens and you can use those visual cues to help determine how the photograph or video was made.
There was a period in the history of filmmaking when cinematographers were trying to push the limits of what was possible with 35mm film. In order to project a larger sized image onto the film they used oval shaped lenses, called anamorphic lenses. This was to cheat the area that was spread onto the film so that they could project a larger image. When printed onto the film that was sent to theaters for the public to view this had to be corrected with a second lens to correct the distortion. To the viewer no effect is visible except in the blurry out of focus points of light in the background. The next time you watch an old film or sometimes a modern film that wants to have that anamorphic feel look for these weird oval shaped blobs in the blurry out of focus areas.
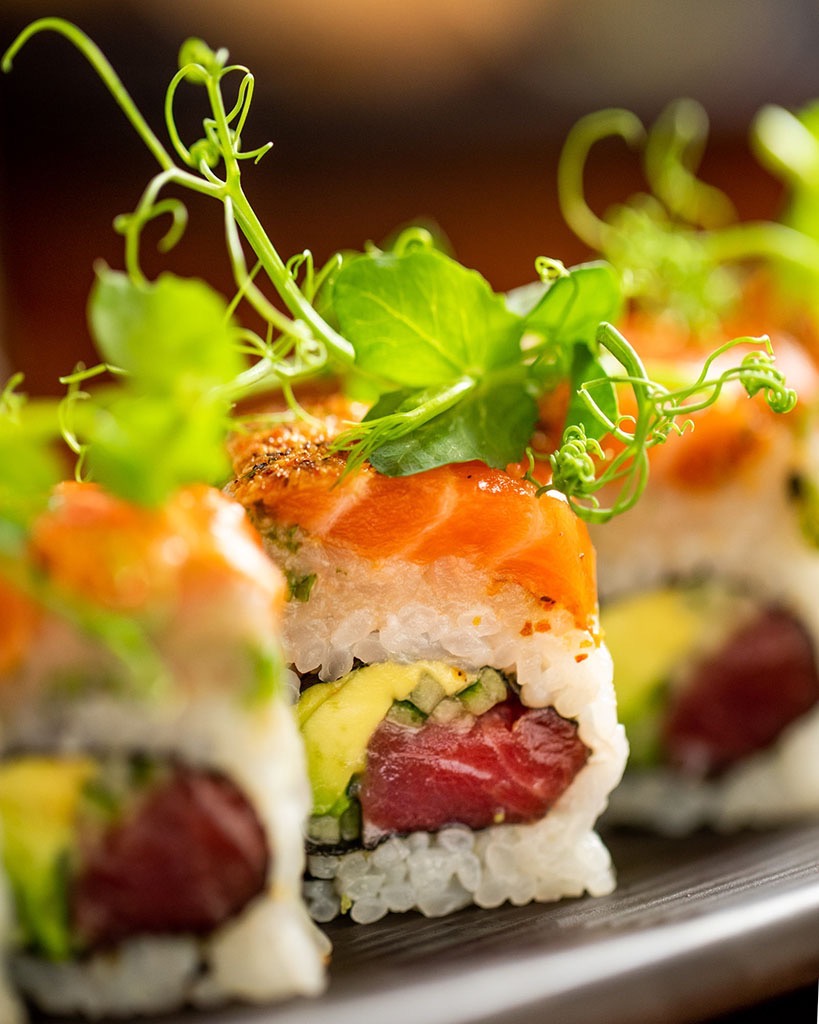
A couple of tricks to learn that can help you pull more or in some cases less focus depending on what you’re trying to accomplish. The depth of field of a certain aperture isn’t always a constant set distance. Lenses vary and I’m just using this as an example but F5.6 at a distance of three feet might only give you 1ft of depth of field where the objects are in maximum focus. But if you step back from what you’re shooting the size of your depth of field increases. At 10 feet away from your subject f5.6 might give you 5ft worth of depth of field. If you know this you can use it to your advantage. Often times in cases where I need more focus but can’t stop down my f-stop I’ll take a step or two back from what I’m shooting and crop the photograph later in post.
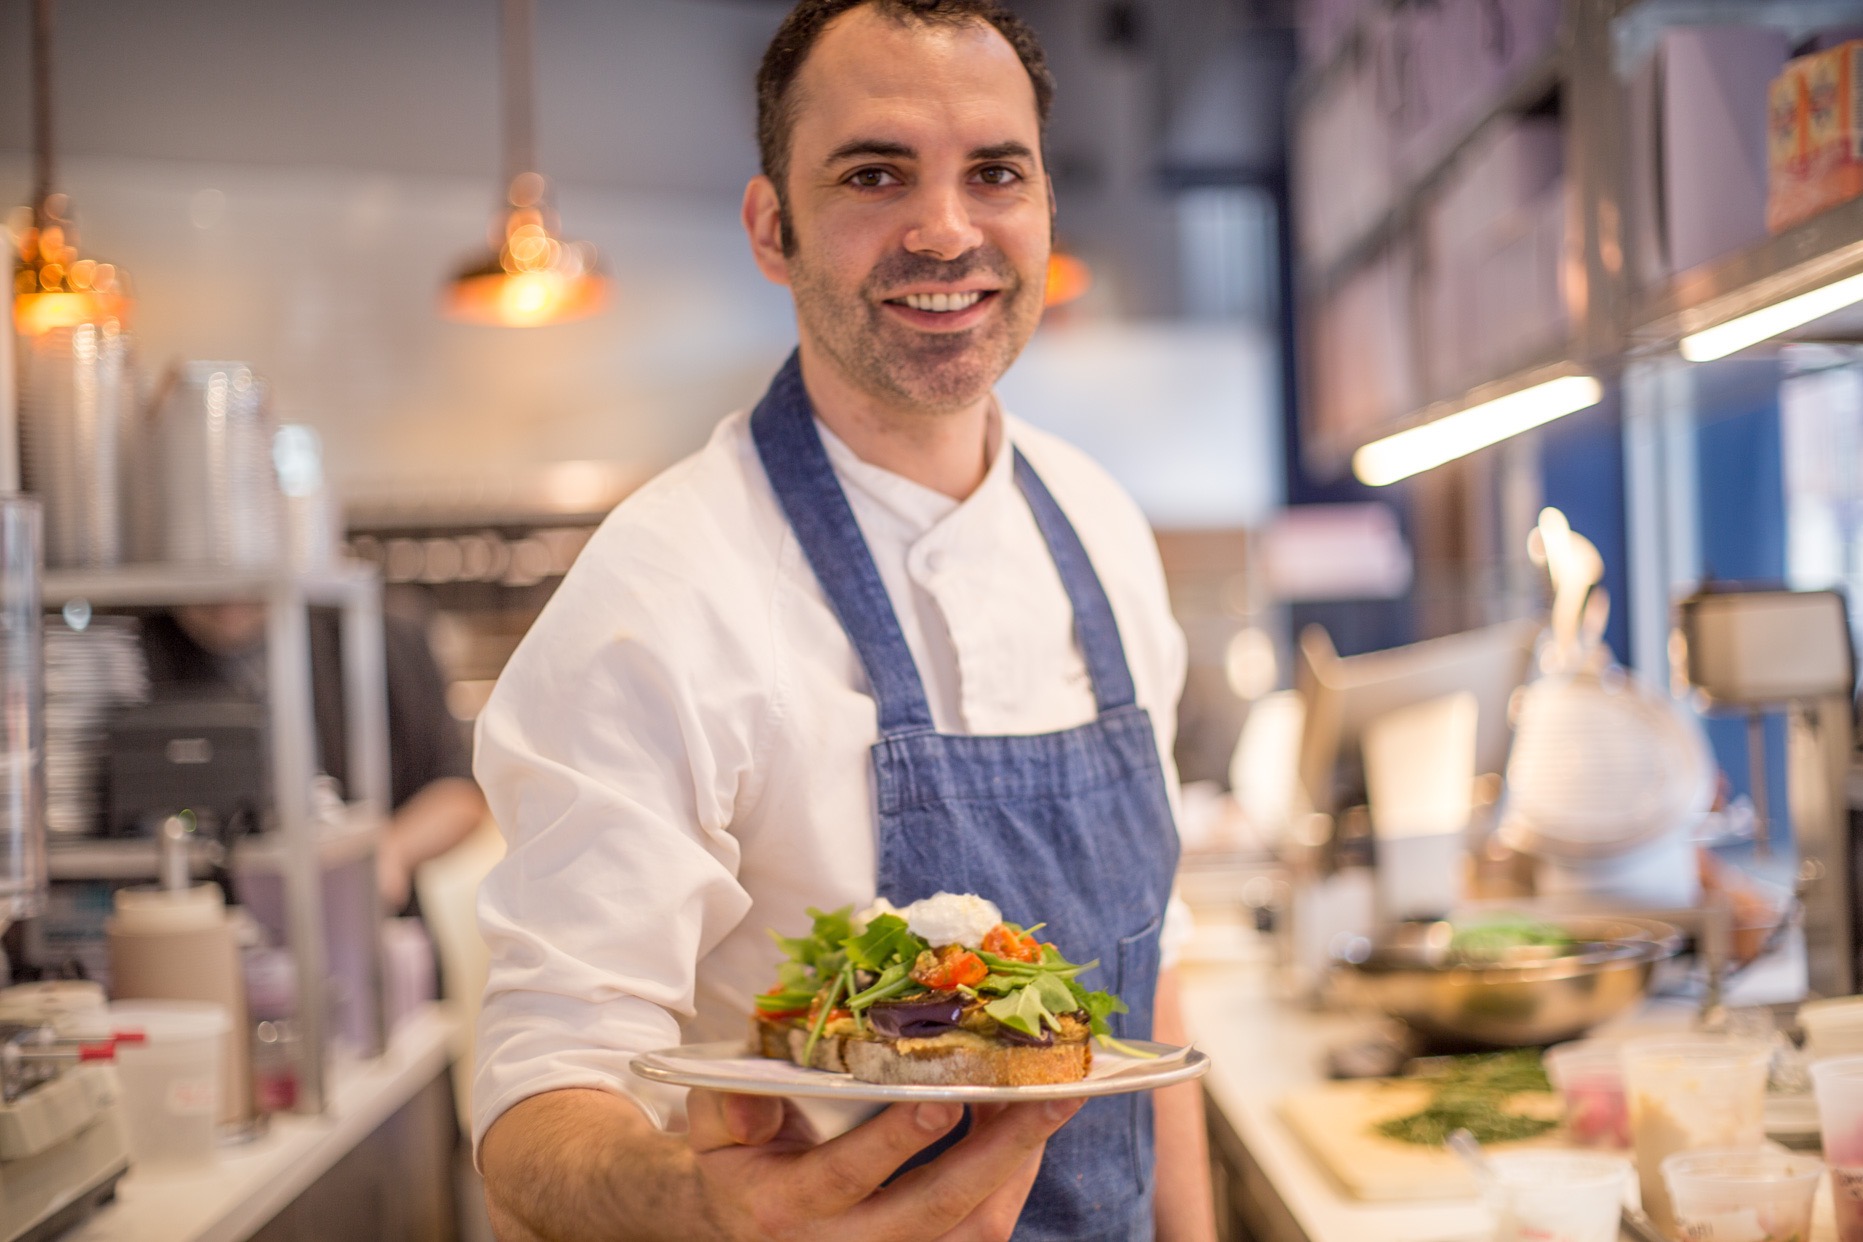
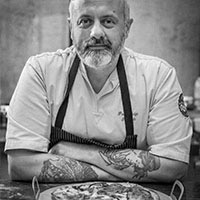
Now that we’ve run through the basics here’s an advanced case study. This is a photograph that I took of the master pastry chef Dominique Ansel. In this photograph we were shooting in a busy cluttered kitchen and I wanted to focus as Dominique much as possible so I chose a lens with a very large aperture and shallow depth of field. It’s one of my favorites the Pentax 50mm 1.4 lens. This lens at 1.4 has a aperture that’s very smooth which makes a very pleasing milky blur. But the disadvantage of shooting with this lens all the way open at 1.4 is that you can only pull so much focus and in this shot the famous chef is doing his signature move holding out a plate of food for the camera. Knowing that I couldn’t get it in one shot without changing my aperture and making the background in focus I decided to bracket my focus. I took a series of shots where I moved the focus ring on the lens slightly in between frames to get a range of photographs with different parts of the image in focus. I then when I was editing the image in post combined multiple frames into one photograph. It’s been several years since I took this photograph but Dominique’s body and face were one frame, the food was a second frame, and I believe part of his arm and hand were from a third. It’s ok to cheat just a little bit.
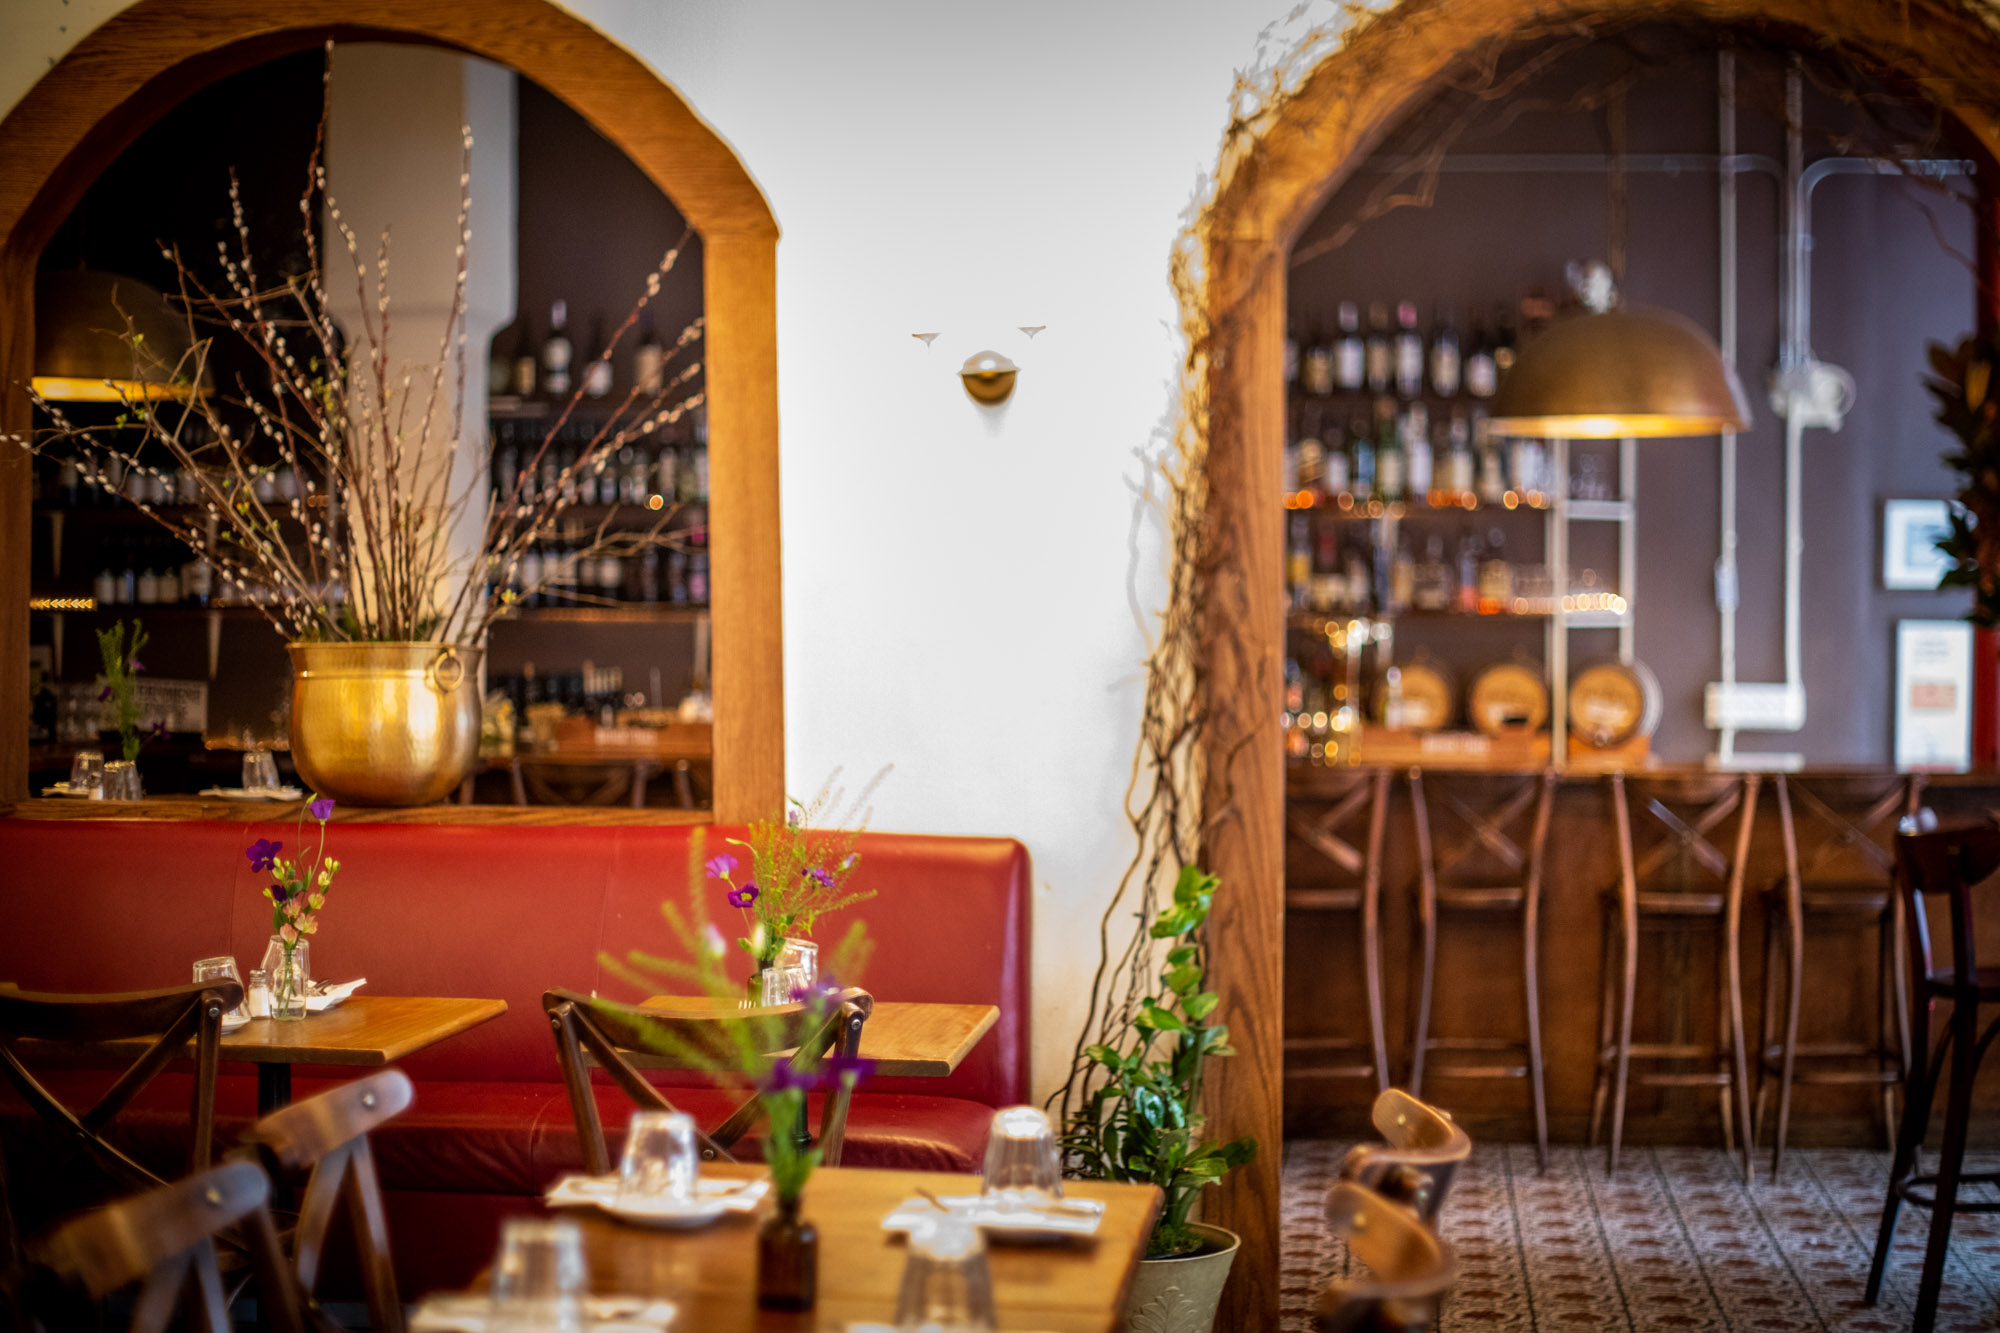
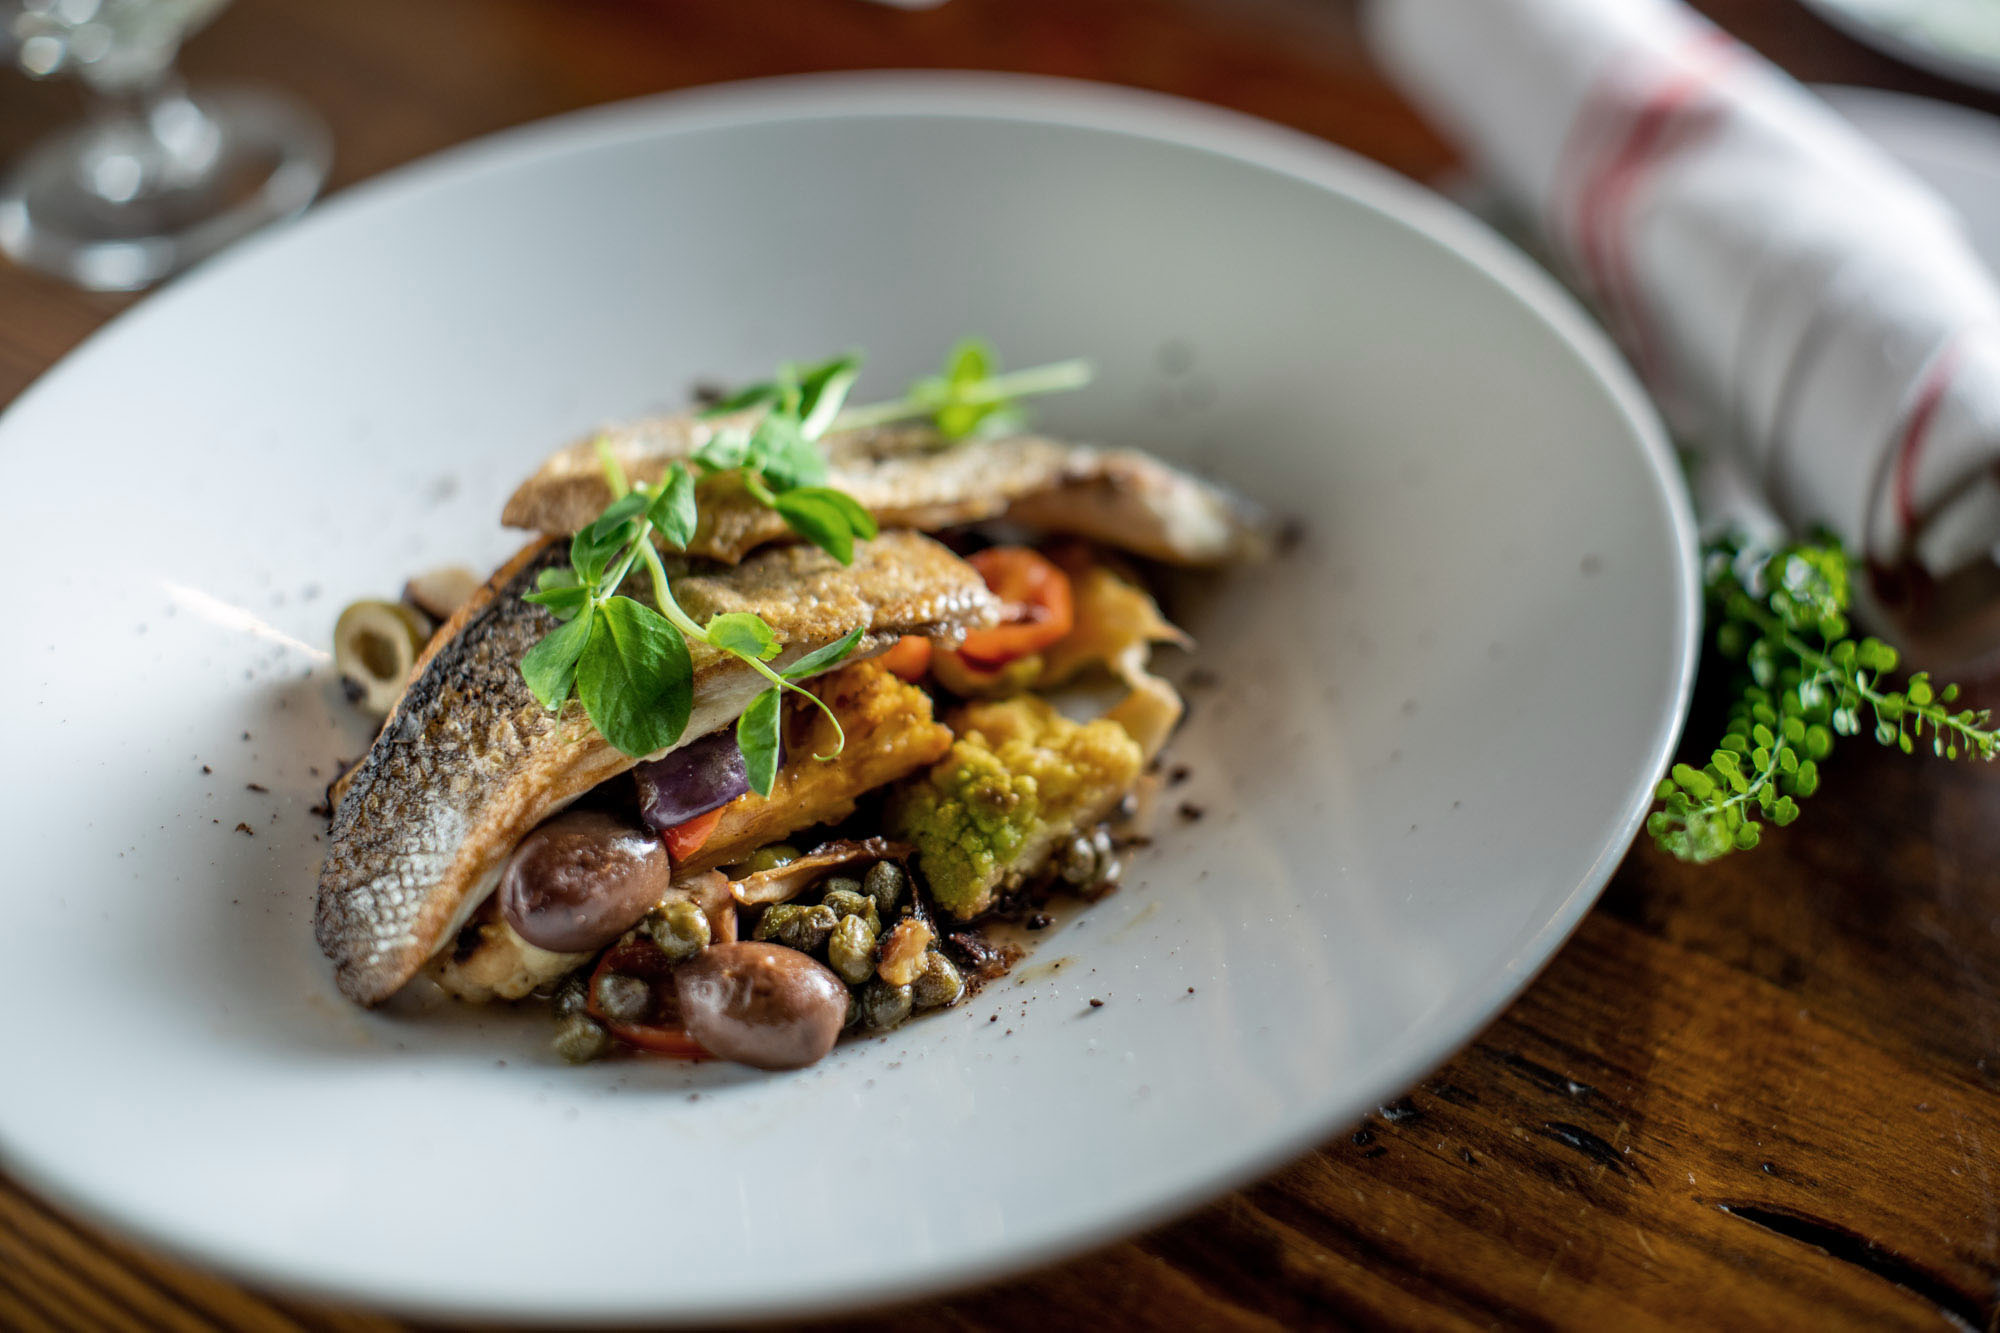
Here’s an advanced-advanced lesson. I had a client who wanted to achieve an ethereal look to her interiors. She referenced work done at Gramercy Tavern by another photographer. I remembered seeing the photographs and the aesthetic was one where part of the image was in focus and the other part wasn’t. This can be easily achieved using a tilt shift lens but I didn’t have one with me at the time. So rather than saying no, I’m sorry I can’t do that I used an old lens trick. I took the lens off the camera mount and held it back up to the camera at a slight angle. Lenses project an image thats parallel to the lens surface and when tilted the lenses focus tilts with it. With this method you can create an image where only the middle of the photograph is in focus and everything to the left or right of it is out of focus. Or in this case just focus on the branzino. Or in the shots of the interior of the restaurant just focus on the flowers on the table but not the bar area and let the wall be in focus. Using this technic you can make some really otherworldly Food Photographs for your clients. But always makes sure that you get a good clean safe photograph first just in case after the shoot the client looks at it and decides that they don't like it or it doesn't go with the aesthetic they were going for.
Articles
 Batteries - A Food Photographer's best friend.
 Focus Food Photographer - Focus.
This is an ongoing project with more coming soon.


 How to be a Food Photographer. - Practice. Show your work to people. Repeat.
 You're only as good of a Food Photographer - as the people that you work with.
 How to do lighting in Restaurants - Lighting is most restaurants is awful for food photography.
 Pics Vs. Photographs - I don't take Pics but I don't mind when other people do.
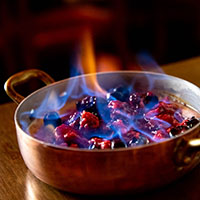 How to Shoot Fire Baby! - How to capture fire in a food photograph.
 Getting to the Job. - Some days this is the hardest part.
 How to shoot with a Ring Light - My not so secret, secret weapon.
 Passport to the World - Cannoli in the coffee.
 Test Photoshoots - Try it you might like it.
 If you Hate my Photograph - I will cry myself to sleep tonight.
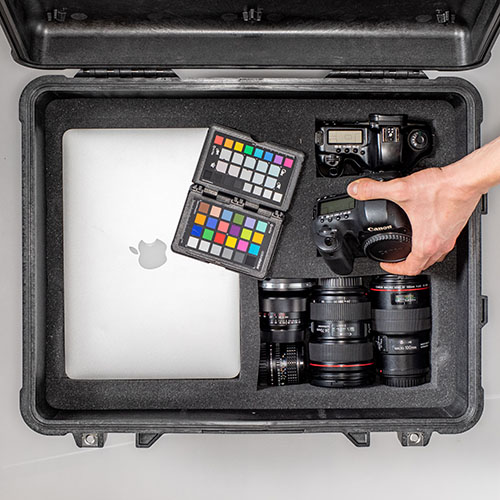 Camera Kits - Everything you'll ever need.
 Food Photographer's Ego - Leave your g$d d%$#ed ego at home.
 Spilled Food - S*!t Happens. Sorry for all the swearing.
 A One Day Photo Shoot - is NOT a 1 day shoot.